When I started doing fully 3D printed color lithophanes in 2019 I had a naive approach that worked better than it probably should have. The fundamental principle is that I stack really thin layers of cyan, magenta, and yellow in various combinations to get the different colors. To match the photo I would print color swatches, take photos and measure the RGB values of each combination. Then I would convert my photo to those colors I had available. This works well for a number of images but fell short for certain ones. In particular blacks were often converted to dark blue and light skin tones were very blotchy and too red. Part of the issue is that the matching doesn’t take into account the effect of the top lithophane part on the color of the output.
I wanted to start simply so I decided to do a typical one color lithophane, but add a second color of grey. I thought that this had the potential of making an improvement on basic lithophanes that could be done with an idex machine, or with just a few filament swaps. To take into account how the thickness of the lithophane effects the color I printed a swatch in white with small towers of different heights, and then placed thin grey swatches beneath it, took photos, and then read the rgb values. I then calculated regression values to get predicted rgb values for various thicknesses.
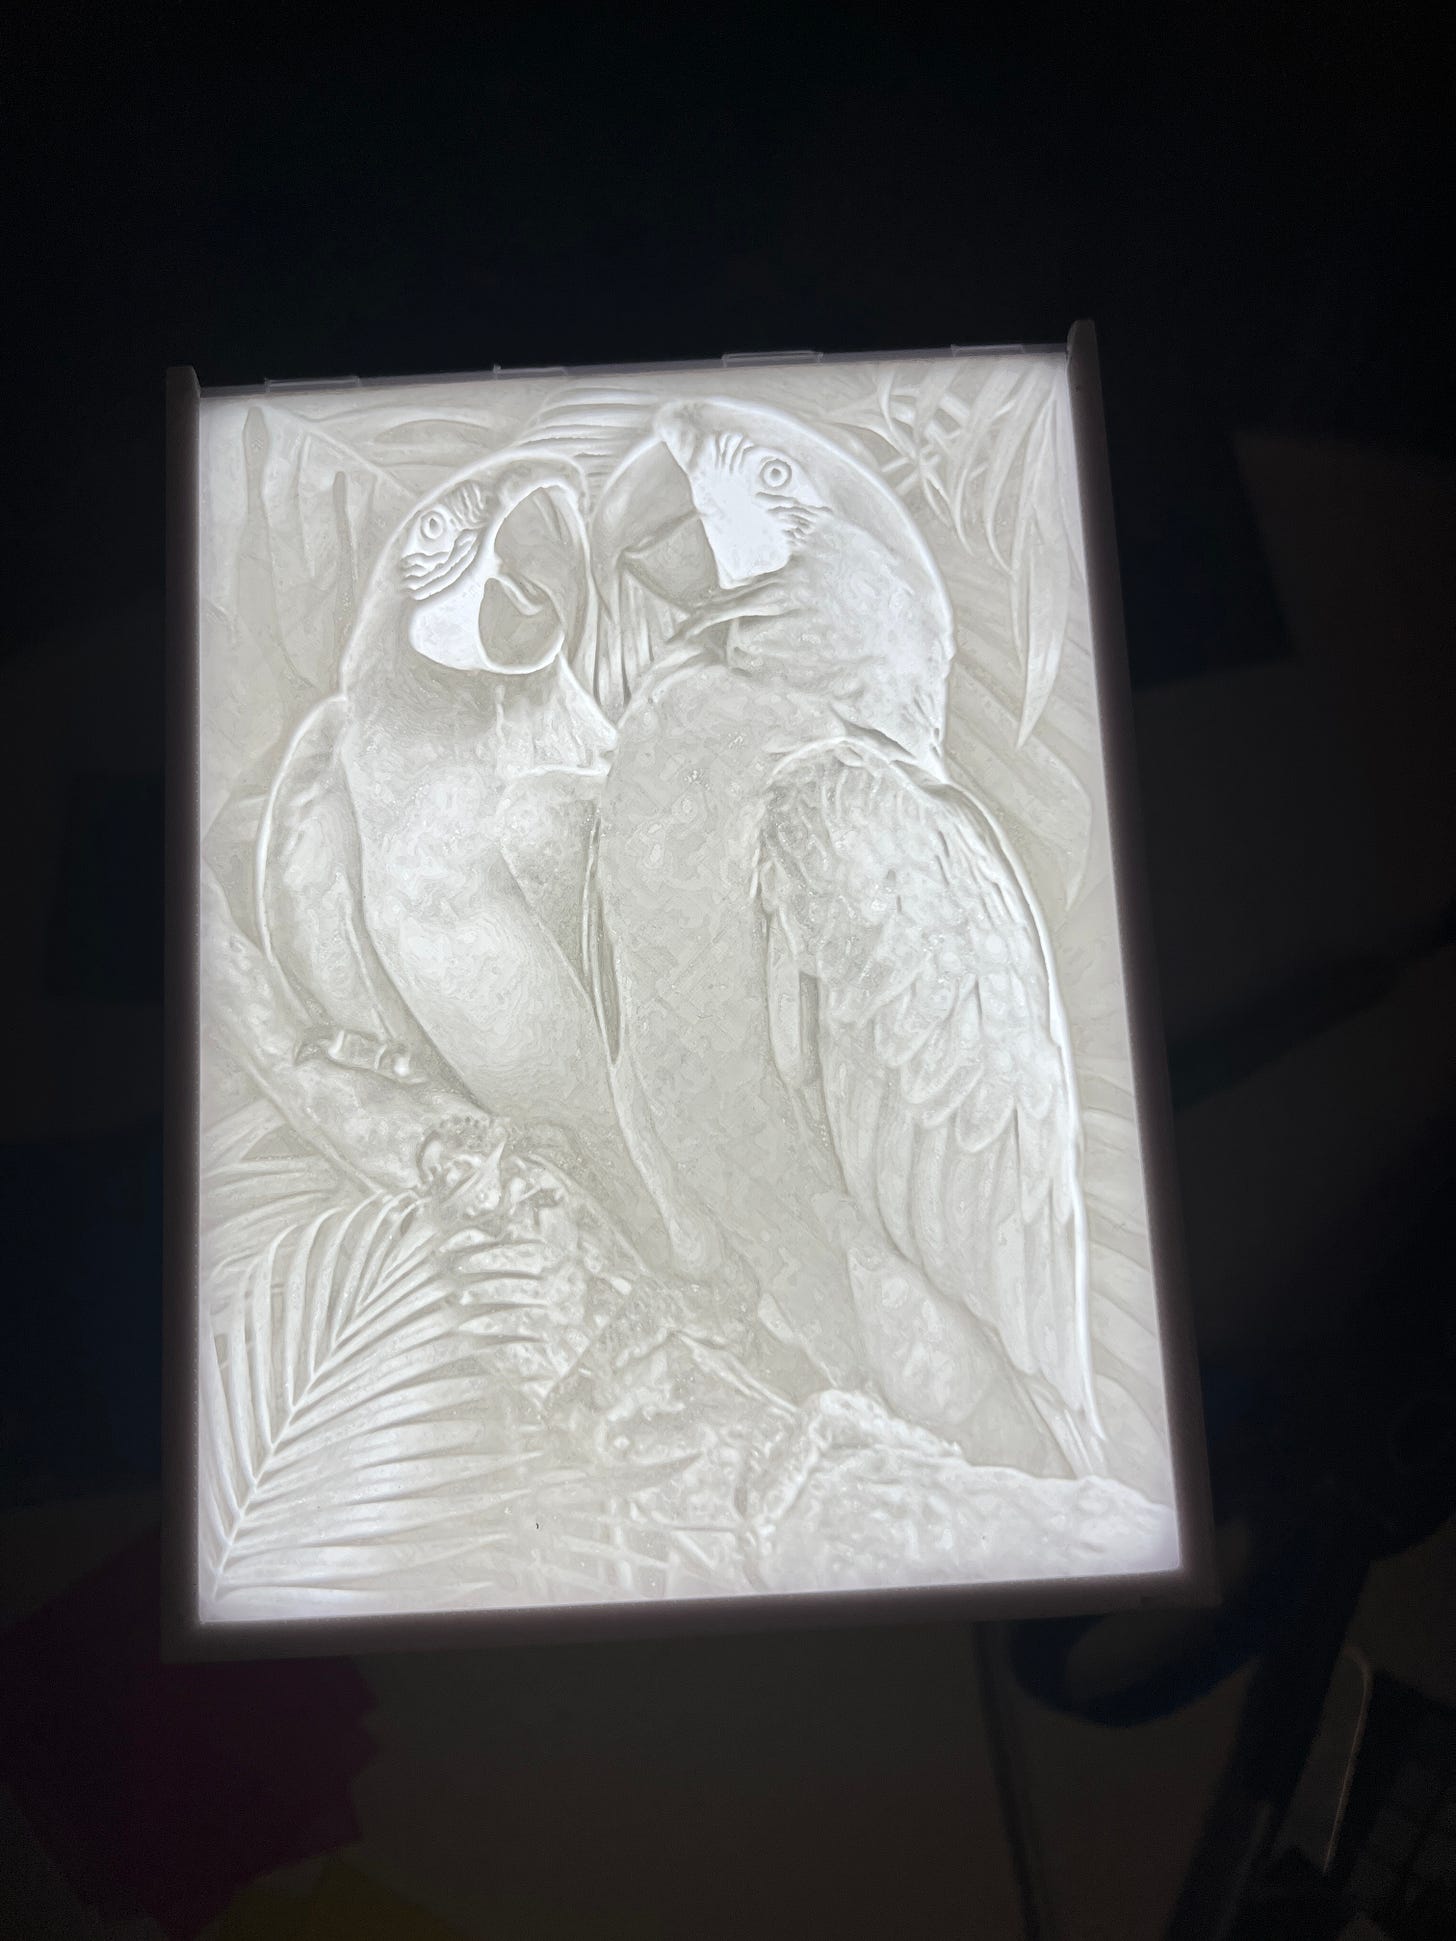
In the end I am pretty happy with this test. This first image is the lithophane with just white filament.
Here is the same lithophane, adding the grey.
I think adding the grey really made the contrast pop.
Now on to adding color.


